How to Master an At-Home Manicure + Video Tutorial
[video id=ePB04BoESeE]
7 Steps to a Salon-Worthy At-Home Manicure
Step 1: Shape Your Nails
Whether you're going for a square look, rounded nails or more pointed tips, start off your at-home manicure by smoothing down any rough or uneven edges. Rodriguez says that “having proper tools is essential to getting started.” To shape your nails easily and accurately, she recommends “a natural nail file, with a rougher side for shortening length and smooth side for shaping.”
Step 2: Soak Nails
Add just a drop of dish soap to a bowl of warm water and let your hands and nails soak for a few minutes. This will help to loosen any dirt and soften up your cuticles!
Step 3: Clean Your Nails
Begin with a clean canvas. Gently scrape any dirt from underneath your nails. Dermstore recommends this dual-purpose cuticle pusher and nail cleaner.
Step 4: Prep Your Cuticles
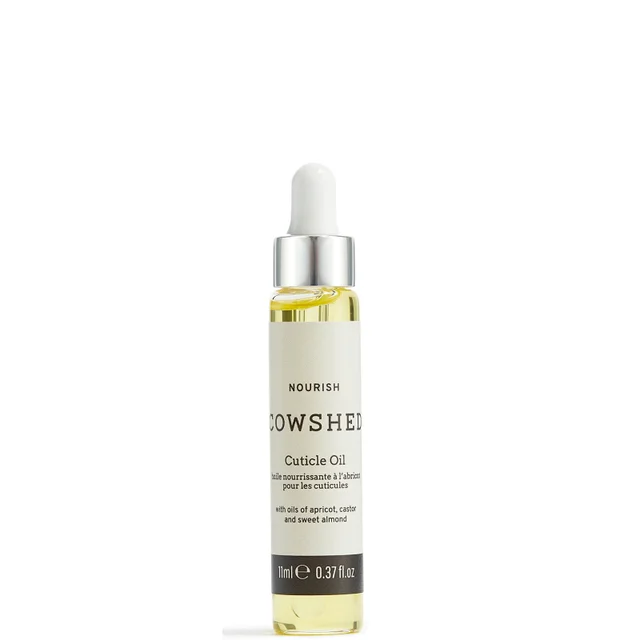
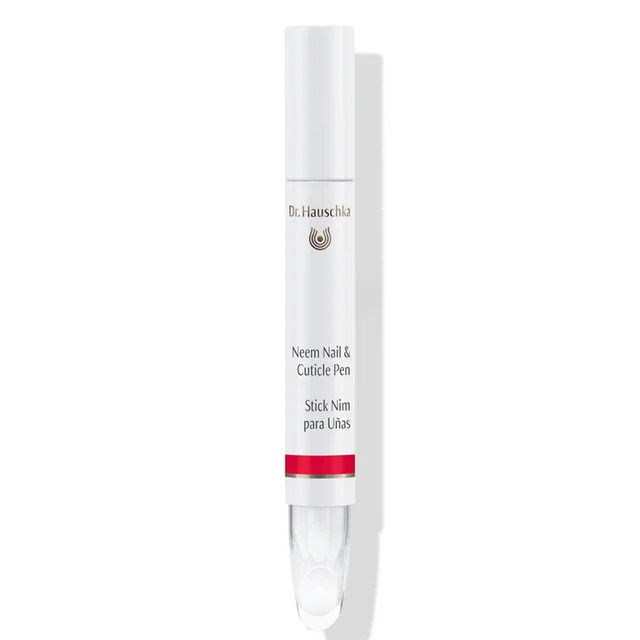
Drip a small amount of cuticle remover onto each nail, and then gently push back your cuticles to create a smooth, elongated appearance. Rodriguez says, to make this step easier, “gently push back cuticles after bath or shower. The water softens them up so you don't have to struggle.”
Step 5: Moisturize Your Hands
Step 6: Apply Base Coat, Polish and Top Coat
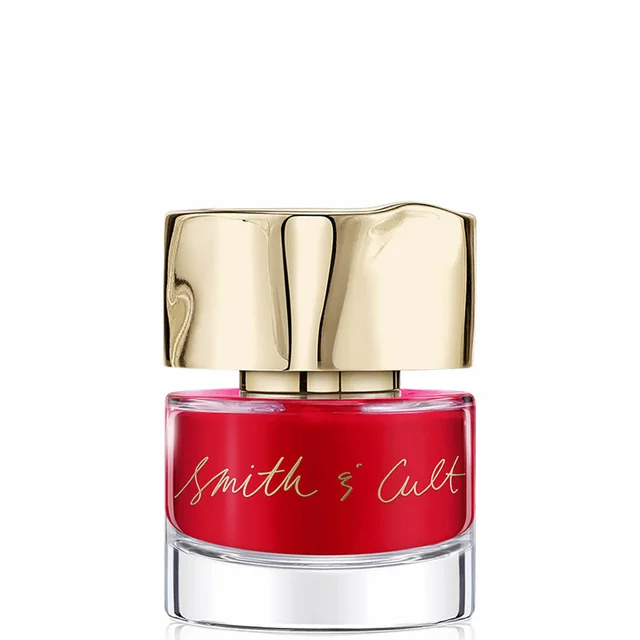
Apply one layer of base coat to your nails. Next comes the the fun part—paint! Choose your favorite color and roll your polish between your hands, rather than shaking it, to avoid any bubbles. Begin painting at the base of your nails, closest to your cuticles. Swipe up the center and on each side.
Step 7: Clean Up
Bonus Tips
Rodriguez gives us some extra knowledge to really help us perfect our manicure technique.
- Throw out polish after two years.
- To loosen up older polish, add a drop of nail polish remover to the bottle.
- It’s time for a new manicure when you’re starting to see chips and breaks!
- Rodriguez lets us know to “wear gloves when doing chores. And keep your hands out of the water while soaking in a tub or jacuzzi.”
- For repairing a crack or tear, Rodriguez recommends, “purchasing brush-on nail glue. File on and around the break softly to make nail dust. This will help strengthen the tear when you put the glue on. Wipe excess glue off to avoid getting glue on your hands. You can do this a few times if needed. Shorten the nail after your repair, since less length is stronger.”

From the latest hair and makeup trends to the best solutions for your skin issues, we've got all your beauty concerns covered!
Related Posts
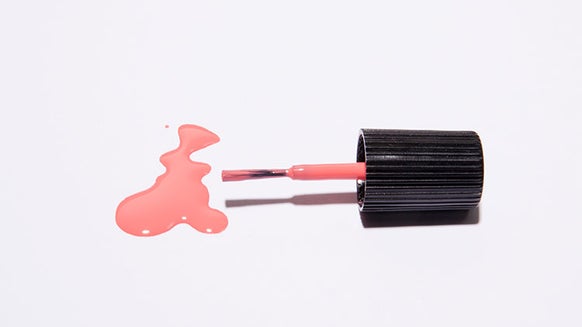
How Safe Is Your Nail Salon + The Best Nontoxic Nail Polish Brands You Need to Know
